Honeycomb
Use the Hotpot Honeycomb integration to page and create moments from Honeycomb data.
Configure Hotpot for Honeycomb
To configure Hotpot for Honeycomb:
-
In Hotpot, go to your Organization Settings page and enable the Honeycomb integration.
The integration configuration page has the generated shared secret for Honeycomb.
-
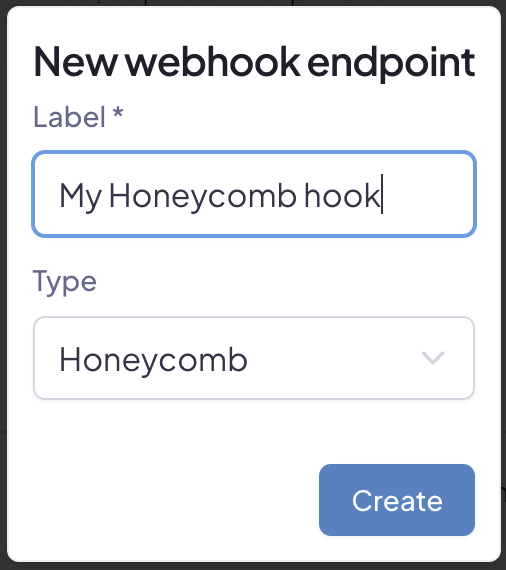
Go to your Team Settings page > Webhooks > New Webhook.

-
Select Honeycomb as the type and give it a memorable name.

You need the token value for the URL of the webhook in Honeycomb.
-
Add two webhooks to support paging and moment creation from Honeycomb. We suggest naming one "Hotpot Page" and the other "Hotpot Moment".
-
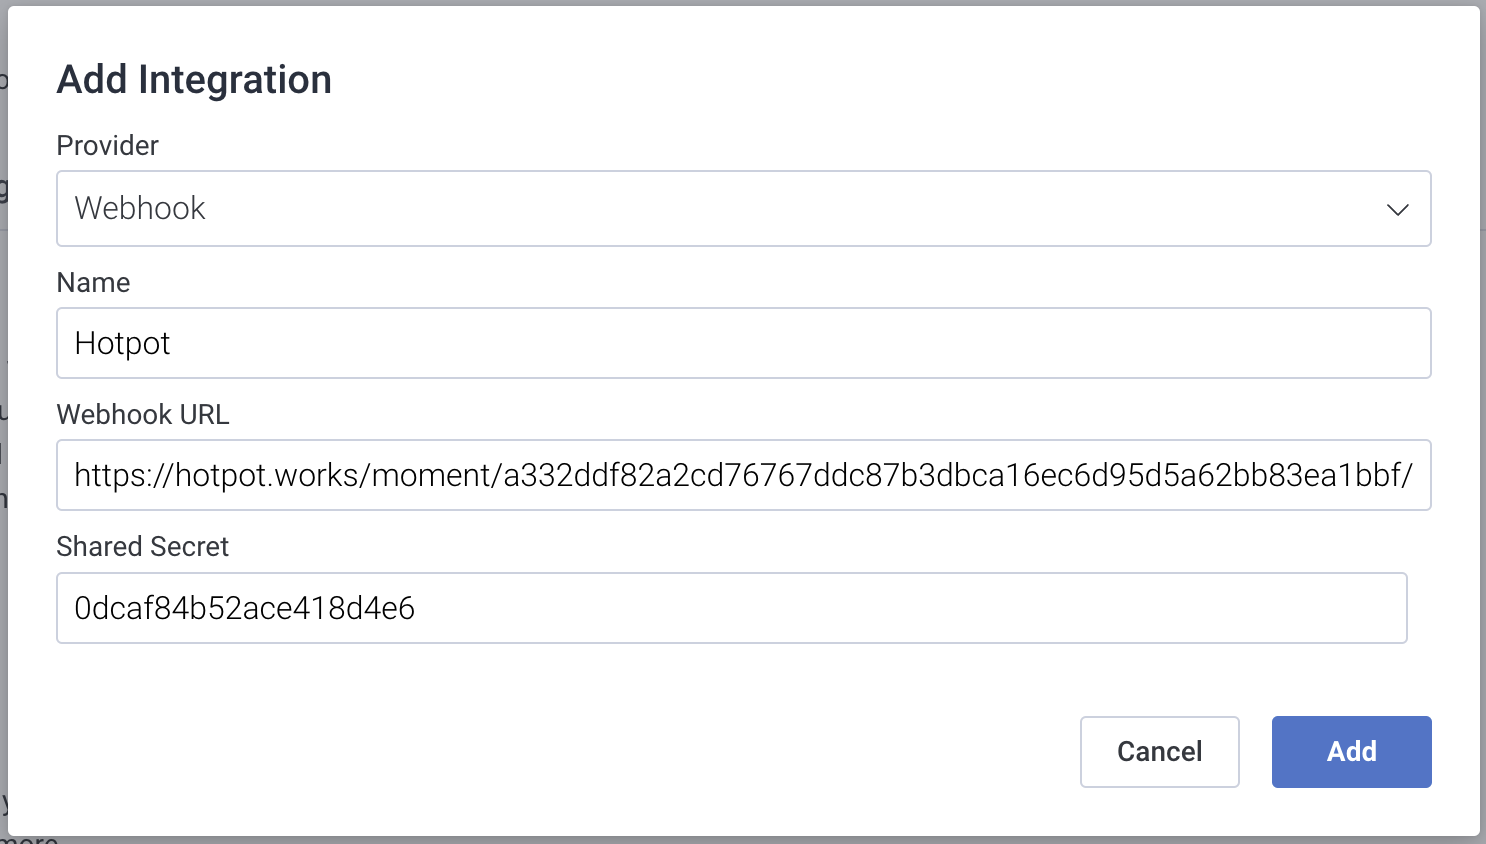
Go to your Team Settings page and add Hotpot as a webhook integration.

The Webhook URL is the value from your team's webhooks and the Shared Secret is from Hotpot's Honeycomb configuration.
Page and create moments
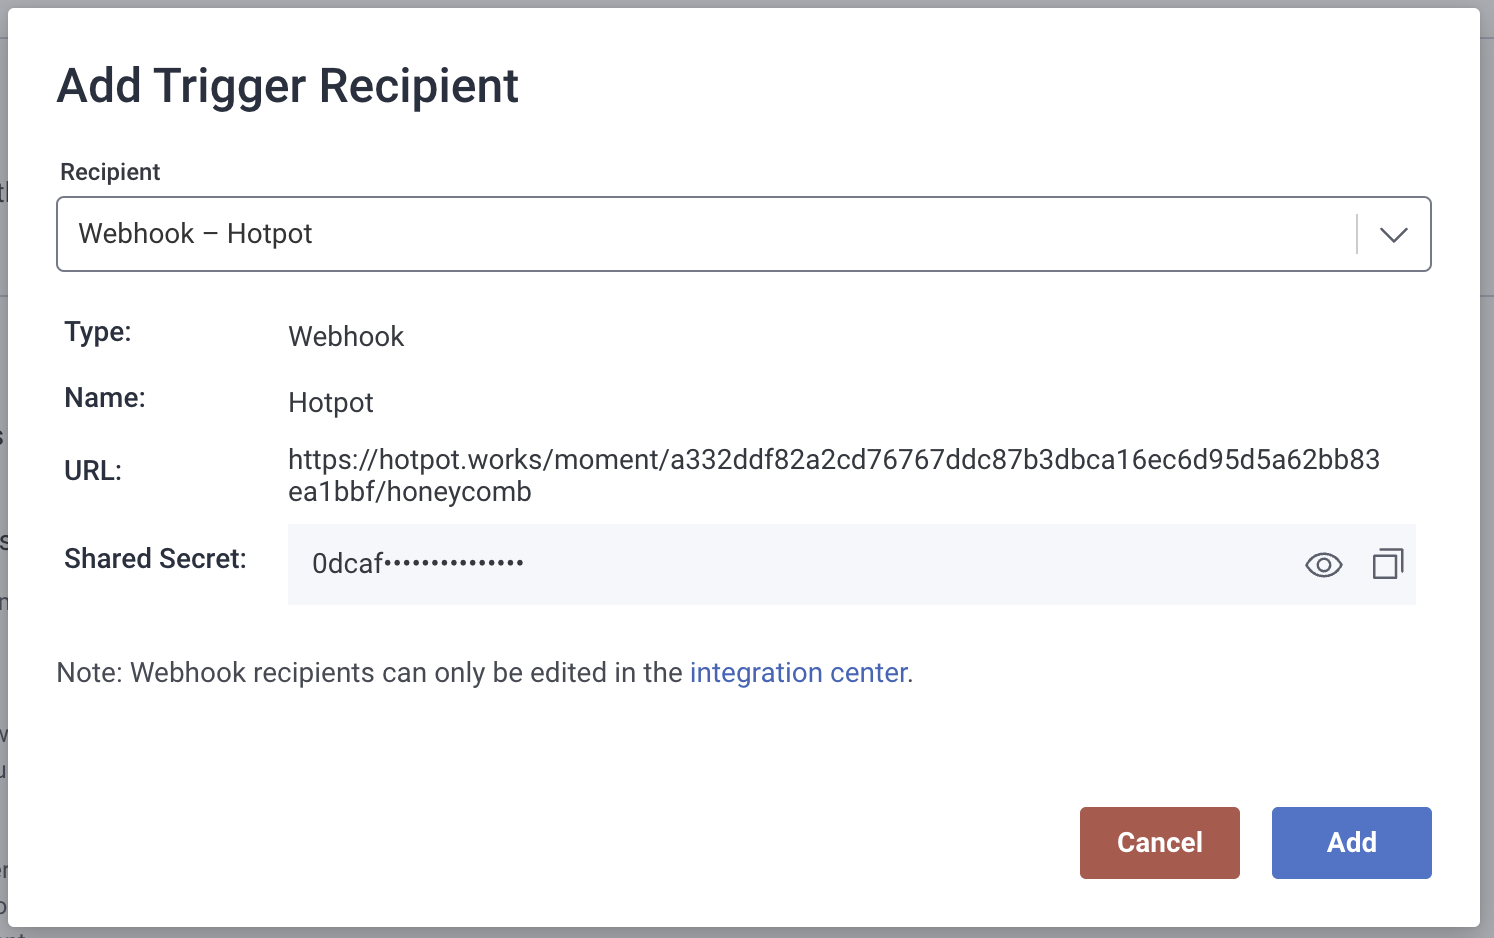
To page and create moments, add the appropriate webhook recipient to the trigger or SLO page to communicate with Hotpot.
As there's no mechanism for urgency in Honeycomb, pages are always created with high urgency.

